|
|
 |
 |
 |

START ENGINES
With your right or left arm extended, move your index finger in a circular
motion.
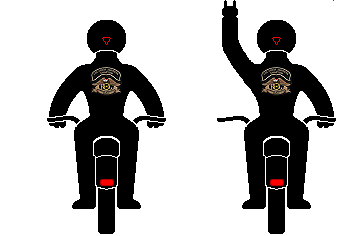
STAGGERED or SIDE-BY-SIDE FORMATION
Extend your left arm upward at a 45 degree angle
with your index and pinkie finger extended. This indicate that it is safe to return to
staggered formation.
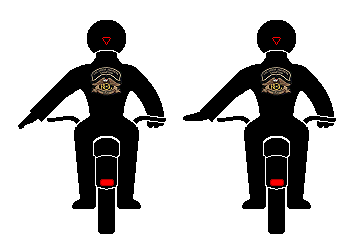
SLOW DOWN
Extend your left arm at a 45 degree angle and move your hand up and down.
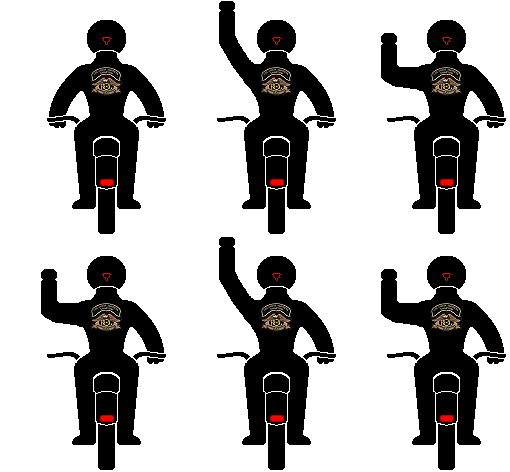
TIGHTEN UP
Raise your left arm and repeatedly move up and down in a pulling motion.
This indicates the leader wants the group to close ranks. NOTE: Do not confuse this with
"Speed Up", which is a similar signal, but this is with a closed fist, whereas "Speed Up" has index finger extended. In order
to "Tighten Up", you may have to speed up, momentarily, but the group leader is maintaining his speed.

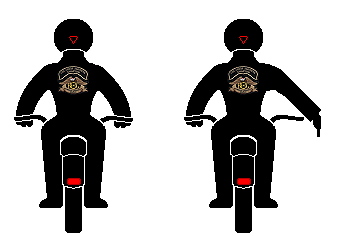
RIGHT TURN
Raise your left arm horizontal with your elbow bent 90 degrees vertically.

LEFT TURN
Raise your left arm horizontal with your elbow fully extended.
|
 |
 |
 |
|
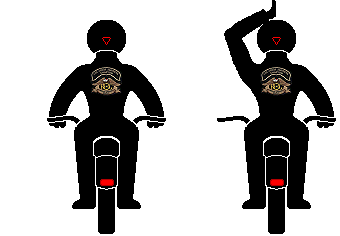
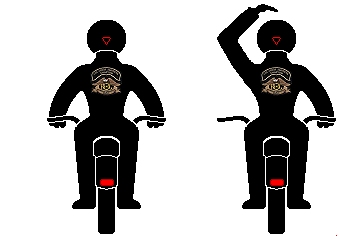
SINGLE FILE
Position your left hand over your helmet
with your index finger extended upward. This indicates the leader wants the group in a
single file formation. Usually this is done for safety reasons.
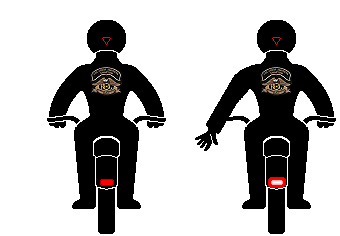
STOP
Extend your left arm at a 45 degree angle with the palm of your hand facing rearward.
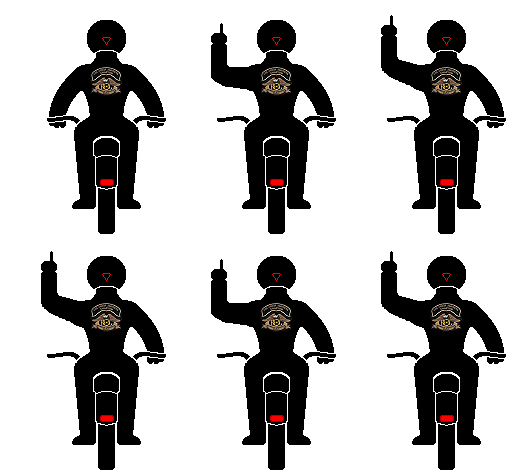
SPEED UP
Raise your left arm up and down with your index finger extended upward. This
indicates the leader wants to speed up.
HAZARD RIGHT (A)
Extend your right arm at a 45 degree angle and point towards the
hazard.
HAZARD RIGHT (B)
Extend your left arm upward at a 45 degree angle with your elbow
bent to 90 degrees and point towards the hazard over your helmet.
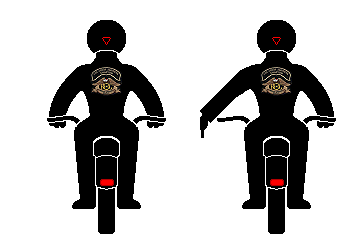
HAZARD LEFT
Extend your left arm at a 45 degree angle and point towards the hazard.
NOTE: A good alternative for "pointing" at a hazard with your hands, either right, or
left, especially when your hands are needed on your handlebar grips, is to stick your right, or left leg, out at a 45 degree
angle, as if you're pointing at the hazard with your foot/leg.
|
 |
|
|
|

